Pocket knives are convenient tools, but they need to be sharp to be effective. A dull pocket knife can cause frustration and inefficiency, so regular sharpening is essential.
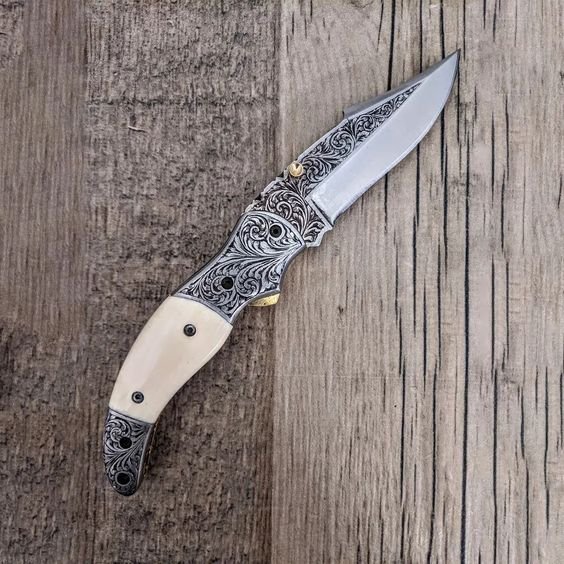
A pocket knife has one or more blades. These can usually fold into the handle, making it easy to carry in your pocket. Pocket knives are also known as jackknives, folding knives, or penknives. They are versatile and can be used for many tasks, such as whittling, cutting twine, slicing fruit, and opening packages.
There are several ways to sharpen a pocket knife’s blade. This post provides a detailed guide on how to sharpen your pocket knife using a stone.
Tools You’ll Need
Two things are essential when sharpening your pocket knife. They are a sharpening stone and lubricant.
- Sharpening Stone
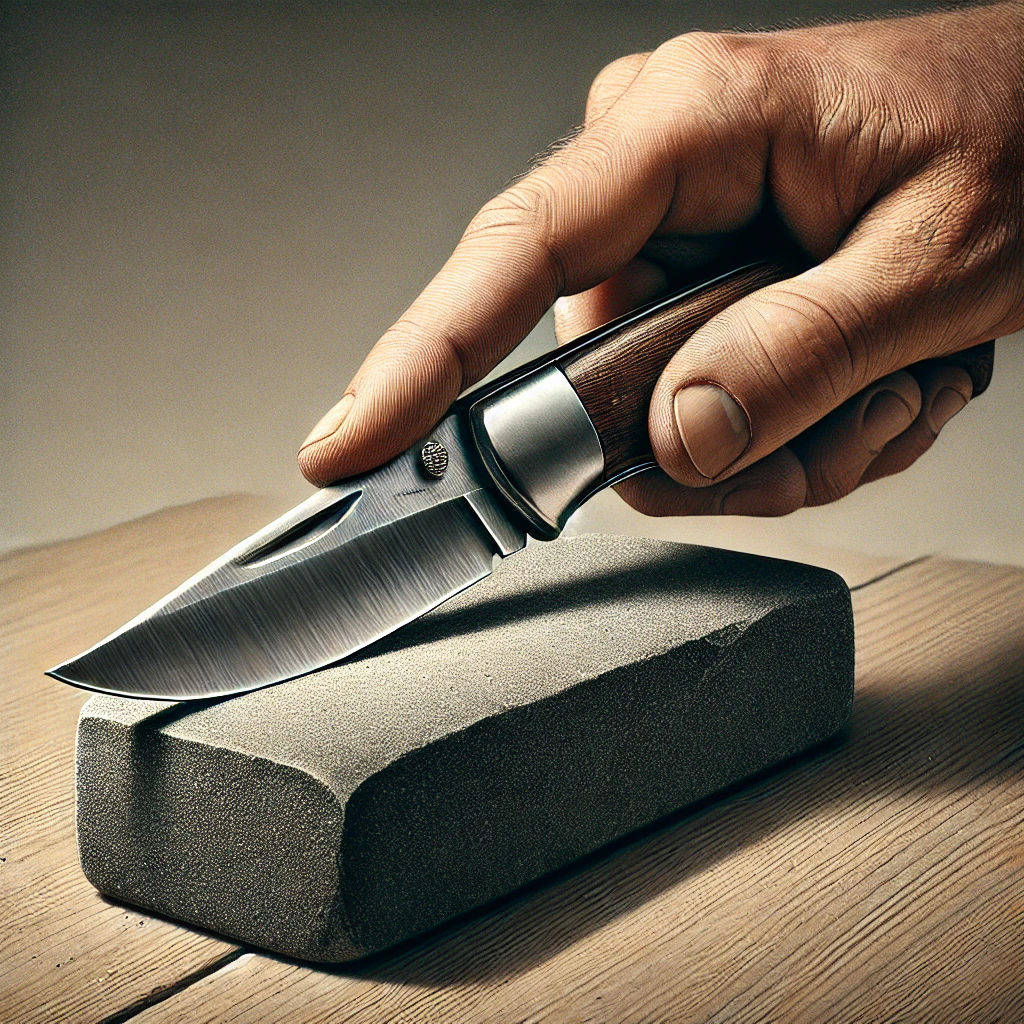
A sharpening stone, or a whetstone, is one of the most popular ways to sharpen a knife. It is also quite traditional. There are many kinds of sharpening stones in the market. They vary in material and cost. Ceramic and diamond are prevalent whetstone types.
Most stones have two sides – a rough grit and a fine grit. When you sharpen your knife, move from rough to finer grit. You can also use more than one stone if you wish for different levels of grit. Remember, the finer the grit, the sharper the knife.
- Lubricant
Again, there are several kinds of lubricant. The most common are water and mineral oil.
Some whetstones do not require a lubricant. But it is usually advisable to use a lubricant because:
- The friction created while sharpening your knife produces heat. This can warp and damage your knife. Lubricants lessen the heat.
- It helps clear out debris while you sharpen your knife.
How to Sharpen a Pocket Knife
Get your tools ready. Let’s look at how to sharpen the blades of a pocket knife step by step.
- Clean Your Knife
Before you begin, make sure that your pocket knife is clean. Remove grease, dirt, or any such residue. You can use water and soap if needed for this purpose. Dry the knife thoroughly when you are done.
- Prep the Stone
This is another simple step. Get your lubricant and apply it to both sides of your whetstone.
- Set the Angle
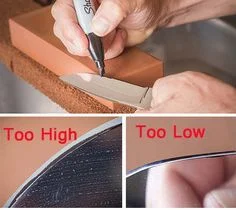
It would be best if you held the blade at an angle while sharpening. To do this, place the knife blade flat on the stone and raise it to the required angle.
The edge angle, also called the bevel angle, of every knife is different. With pocket knives, the angle is usually 10-20 degrees. With a bit of practice, you will be able to find the angle by feel. Of course, you can choose to completely re-profile the knife. In this case, you will need to select an angle different from the factory angle. This angle depends on your preference.
Here’s one thing you need to remember: the smaller the angle, the sharper the blade. But, a smaller angle will not last very long.
The key is maintaining the angle you have chosen while you are sharpening the knife. To make this easier, you can mark the knife’s edge with a permanent marker.
- Start Sharpening the Blade on the Rough Grit
Once you have found the perfect angle, you can go ahead and start sharpening. Start with the rough grit. First, you will have to sharpen one edge before moving on to the other.
Begin by moving the blade against the stone. Imagine you’re trying to shave a layer of stone from the whetstone.
Apply moderate pressure. As with the angle, maintain consistent pressure.
You can sharpen the blade by moving it towards you. You can also choose to stroke the blade away from you. It depends on personal preference.
If you struggle with maintaining the angle, you can try moving the blade backward along the stone, away from you. This way, it is easier to stay consistent on the angle. Further, you can check regularly to see if you have removed all the ink from the marker.
Repeat the stroking process for 8-10 times. Before switching to the other side, check if you have raised a burr. A burr is a slight, raised edge of metal that forms on the blade due to the sharpening process.
You can find this by running your finger along the edge. Alternatively, you can hold the blade up to light. You will find a highlight along the sharpened edge. If you can’t see this, you might have to keep going.
- Switch to the Alternate Side
Once you are done with one side, you can then move on to the other. Repeat step 4. After sharpening both sides, move your blade against the stone for about ten more times. But this time, alternate between sides. You can also focus on one area if you think it hasn’t been sufficiently ground.
- Move to the Fine Grit
Flip the stone and repeat steps 4 and 5. This will remove all the burrs. When you’re done, the edge should feel the same, whether you’re dragging your finger from the left to the right or vice versa.
After you finish one stone, you can move on to a ceramic or other fine-grit stone. This will give your pocket knife an even sharper edge.
- Strop
This step is optional. You can do this to give your blade a final polish. It will also maintain the sharpness for a long time.
For this, stroke the blade over a piece of leather with a polishing compound. Ensure that you draw the blade away from the edge. This way, you won’t slice the leather or dull the blade.
That’s it! Clean the knife, and you’re good to go.
Conclusion
To sum up, start by cleaning the blade and prepping the whetstone. After that, find the edge angle and maintain it. Mark it with a permanent marker to use as a guide.
To sharpen the blade, pass it along the length of the whetstone. Use consistent pressure, and make sure to do it one side after another.
You can use more than one stone if required. Remember to move from coarser grit to finer grit. Make sure the burr is gone. Optionally, for a slight extra sharpness, you can pass the blade along a leather strop.
You’re done! And, of course, remember to be careful during this process so you don’t accidentally harm yourself.

Leave a Reply