Ever tried slicing a piece of meat with a dull knife? Now, imagine the frustration of tackling woodworking with a blunt chisel.
Think of a chisel as a key to unlock your craftsmanship. Whether you’re a seasoned woodworker or a weekend DIY master, chisel sharpening can help you unlock a flawless finish.
In this guide, we’ll walk you through simple steps to reinvent your chisels and ensure every cut is clean, precise, and satisfying. But before that, let’s take a look at the anatomy of a chisel.
Understanding the Anatomy of a Chisel
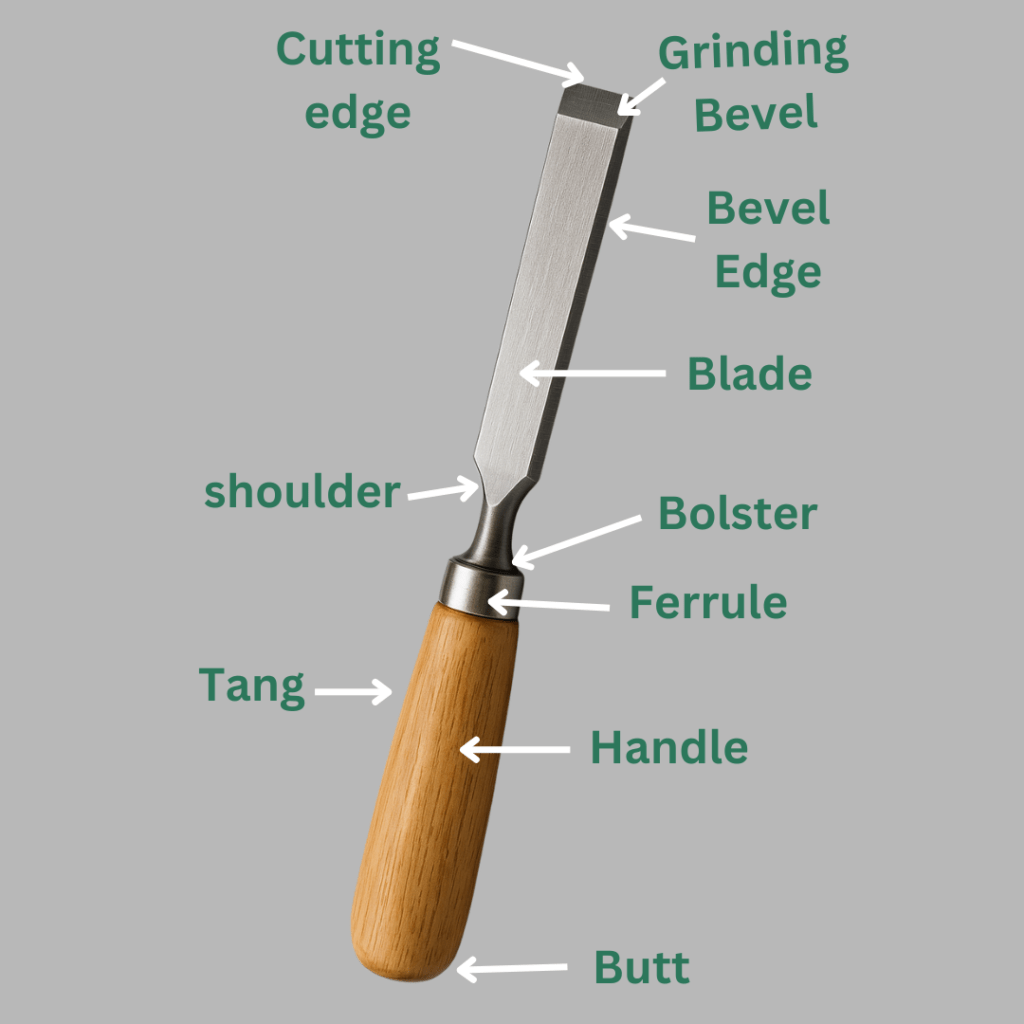
Chisels are essential tools for craftsmen and woodworkers, used to carve, shape, and cut wood of various types and sizes.
To split, chop, and prepare wood, we use wooden mallets and chisel hammers, which hit the end of the handle. Chisels are used primarily for shaping and creating woodworking joins. It has the following parts:
Blade: The metal part that does the cutting. It’s typically made from hardened steel.
Bevel: The slanted edge that is sharpened to create the cutting edge that reaches into corners.
Handle: The part you hold is usually made from wood or plastic. Handles may sometimes be capped with metal for durability.
Ferrule: A metal ring located where the blade meets the handle, designed to prevent the handle from splitting.
Types of Woodworking Chisel
There are four main types of chisel used in woodworking:
Bench Chisels
Bench chisels, also known as beveled-edged chisels, are among the most versatile and commonly used chisels in workshops. They are short and generally serve the general purpose of woodworking. They come in various widths and easily perform tasks like chopping and trimming.
Mortise Chisels
Mortise chisels (sometimes spelled “mortice”) are known for their strength, thanks to a thick blade. These chisels are used for cutting mortise holes or deep, square holes that receive tenons in joint works.
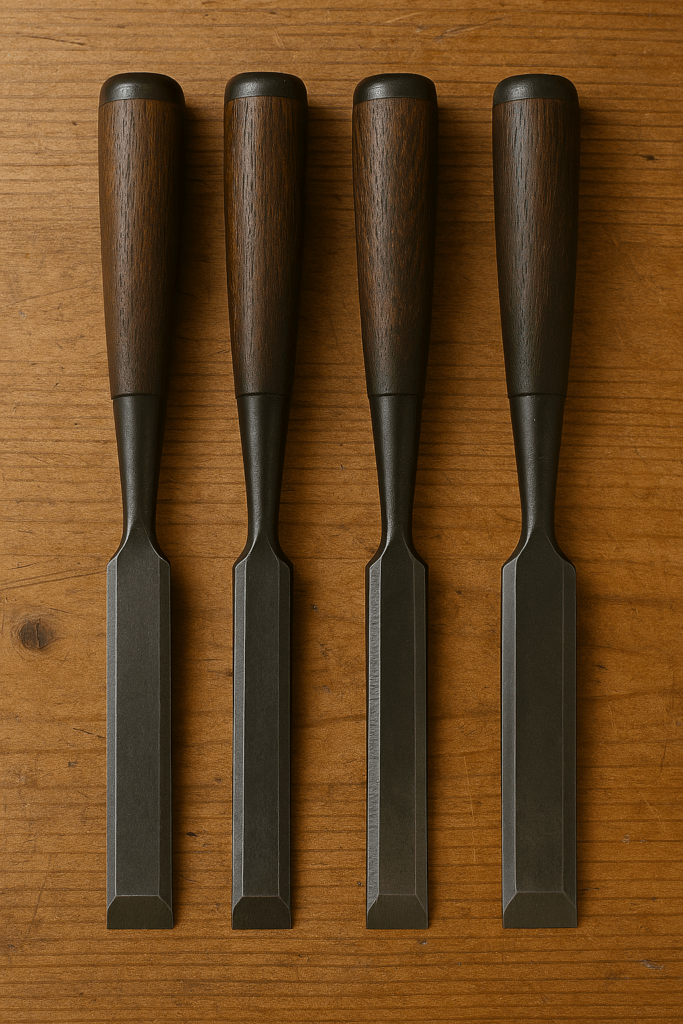
Paring Chisels
Paring chisels carefully shave thin slices of wood, and their long, narrow, flat blade offers superior control for delicate tasks. A paring chisel cleans the rough work of a mortice chisel.
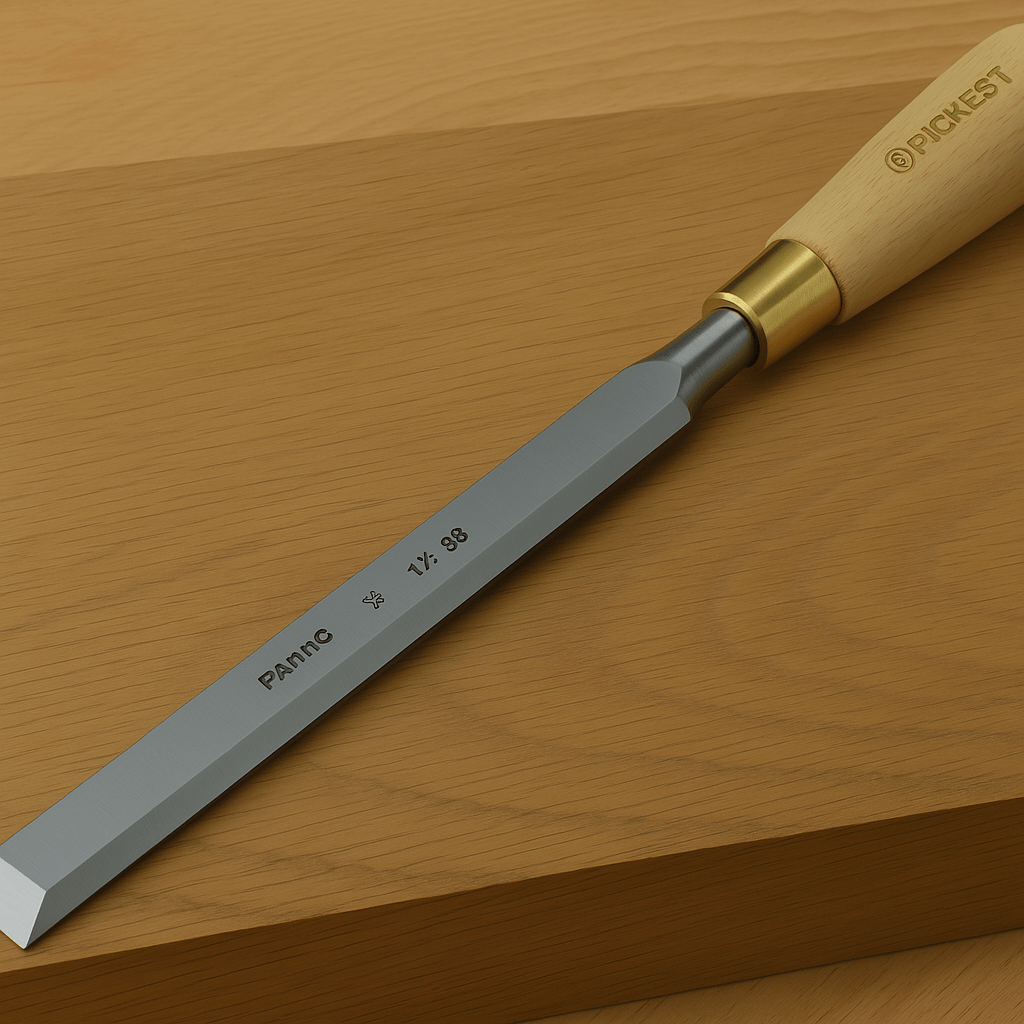
Corner Chisels
Corner chisels come in handy to tidy up the work of a mortise chisel. For example, after mortising the cabinet door hinges, a corner chisel will be used to shave off the corners to achieve a perfect 90 degrees.
Now that you know the different types of chisels and their functions, let’s examine how to sharpen them
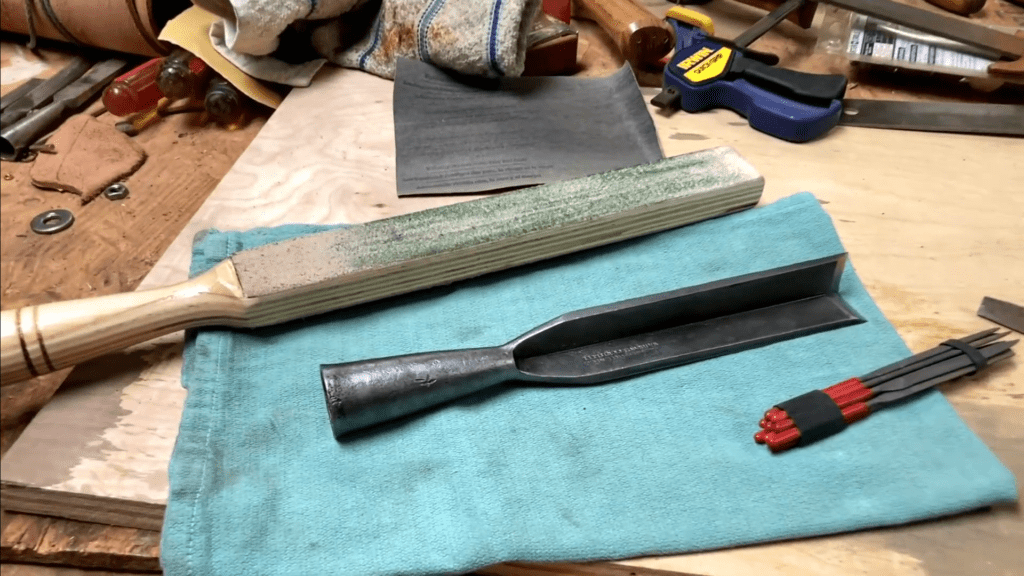
What You Need to Sharpen and Maintain Your Chisel Blade
To sharpen a chisel, here are the things you need:
Sharpening Stones: Whetstones are usually used to maintain the edge of chisels. When sharpening, honing guides can assist in maintaining a constant angle.
Stropping: A leather strop is used to clean the edge and get rid of burrs once it has been sharpened.
Protectors: Chisels should be kept with blade guards to protect the blade from damage.
How to sharpen a chisel – Step by Step Guide
Sharpening a chisel might sound intimidating, but trust me, it’s a straightforward process once you break it down into manageable steps. Here’s how to go about it:
Step 1: Inspect and Clean the Chisel
Before you even touch a sharpening stone, take a good look at your chisel. Does the blade have nicks, rust, or grime? A blunt or dull chisel is both frustrating and unsafe. If you spot rust, grab a bit of steel wool or fine-grit sandpaper and gently scrub it away.
Step 2: Flatten the Back
Here’s a secret: sharpening isn’t just about the bevel; the back of the blade matters, too! A flat back ensures you get those precise cuts you’re after.
Lay the chisel flat on a coarse sharpening stone or sandpaper on a sturdy surface. Apply steady pressure while moving the chisel back and forth for effective use. Don’t rush—check your progress every so often. When the back looks polished and feels smooth, you’re ready for the next step.
Step 3: Sharpen the Bevel
Now, we’re getting to the heart of the process. The bevel is what gives your chisel its sharp cutting edge. First, decide on your sharpening angle—25 degrees is a good standard. If this sounds tricky, don’t sweat; a honing guide can help you hold the chisel at the perfect angle.
Start with a coarse grit stone to reshape the edge if needed, then move up to finer grits for a polished, razor-sharp finish. Use consistent strokes—forward and back—while applying light, even pressure. You’ll notice the bevel becoming shinier and sharper as you go.
Step 4: Polish the Edge
Here’s where the magic happens. Polishing isn’t just about looks—it’s what transforms a sharp edge into a super-sharp one. If you have a strop (leather strip), now’s the time to use it.
Lightly drag the chisel backward across the strop to remove the tiny burrs that form during sharpening. If you don’t have a strop, opt for a fine-grit stone instead.
Step 5: Test Your Chisel
So, how do you know if your chisel is sharp enough? Let’s run a few tests. Try shaving some wood; a sharp chisel should cut cleanly without tearing. Test it by slicing a piece of paper—it should glide through effortlessly.
Not quite there yet? No worries—just repeat the polishing step or go over the bevel again. It’s all about practice.
Wrapping Up
Sharpening a chisel might seem simple, but mastering this skill can transform your projects. A razor-sharp chisel makes your work easier and ensures precise results every time. Whether you’re a weekend DIYer or an experienced craftsman, taking care of your tools is an investment in your craft.
Without a doubt, sharpening a chisel requires patience, but the results are worth it. A sharp chisel boosts your confidence as you work. So, grab that honing guide, pick up your sharpening stones, and bring those chisels back to life! Ready to take your woodworking to the next level?

Leave a Reply